Image Map
Showing posts with label Eat Drink and Be Married. Show all posts

Monday, April 15, 2013

Vintage Bride and Groom Custom Drink Stirrers

Having personalized drink stirrers is a great way to customize your reception.  For my wedding, I ordered vintage bride and groom drink stirrers ($22 for 50) to match my monogrammed cocktail napkins. We hired an Italian 3 piece band to play during the cocktail hour for a fun Italian touch.  The wedding party was busy taking photos, so we missed the hour, unfortunately.  I heard it was great fun though!  For the modern wedding, there are so many options to choose from if you are having drink stirrers.

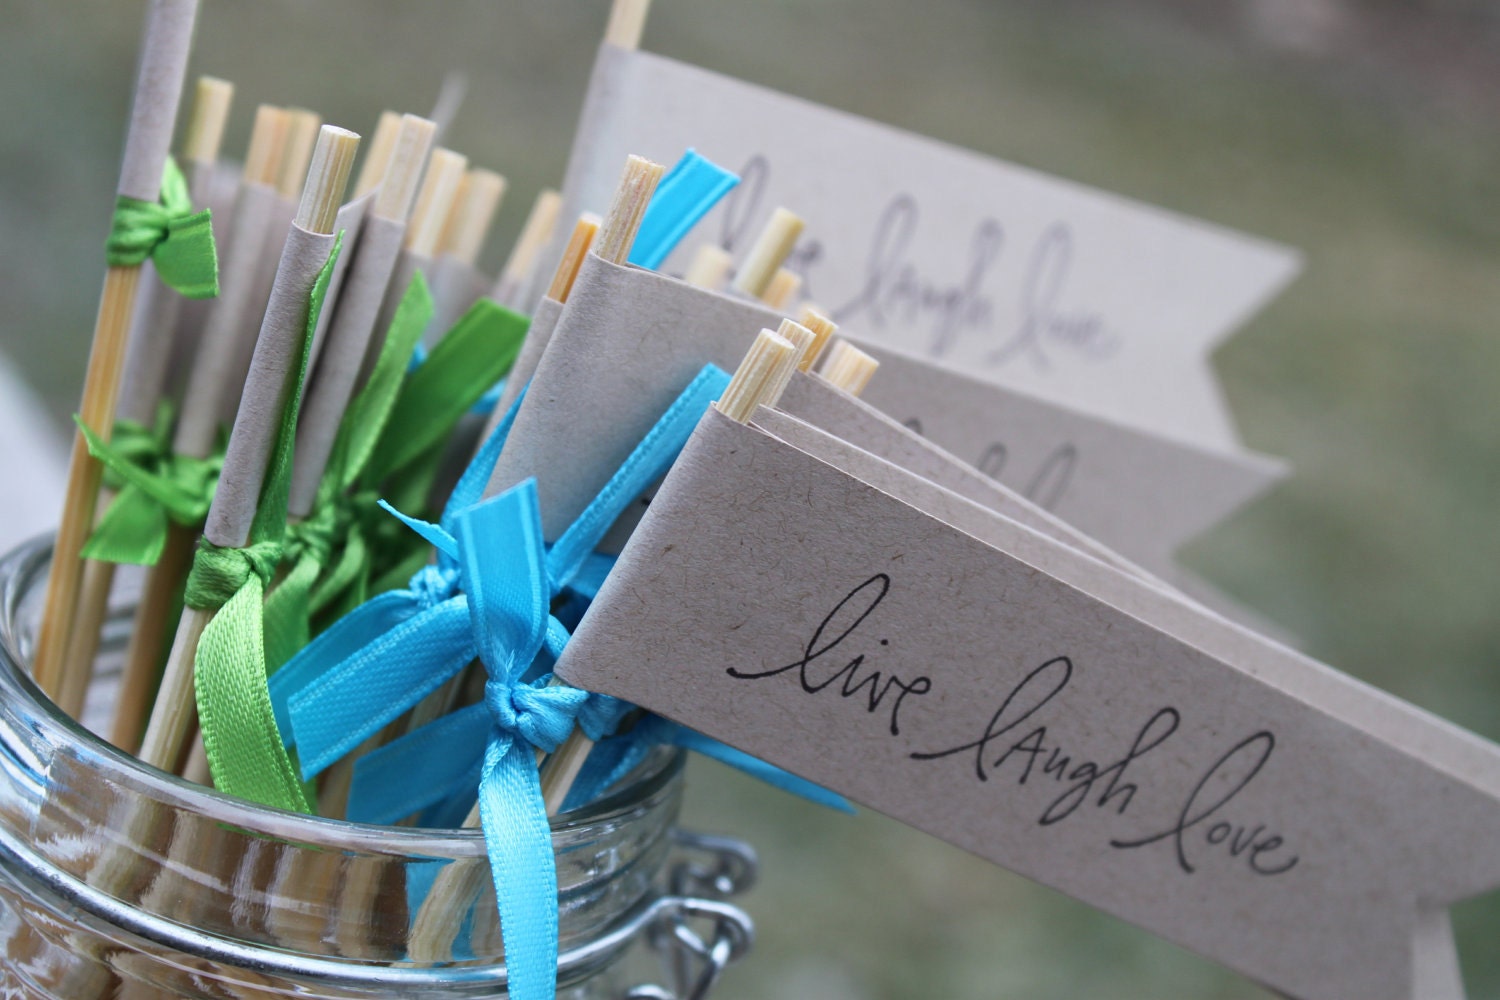
Start your night off with a special message to your guests.  These drink stirrers say Live Laugh Love on a flag.  Other cute messages could be I Do, Eat Drink and Be Married, or Happily Ever After.

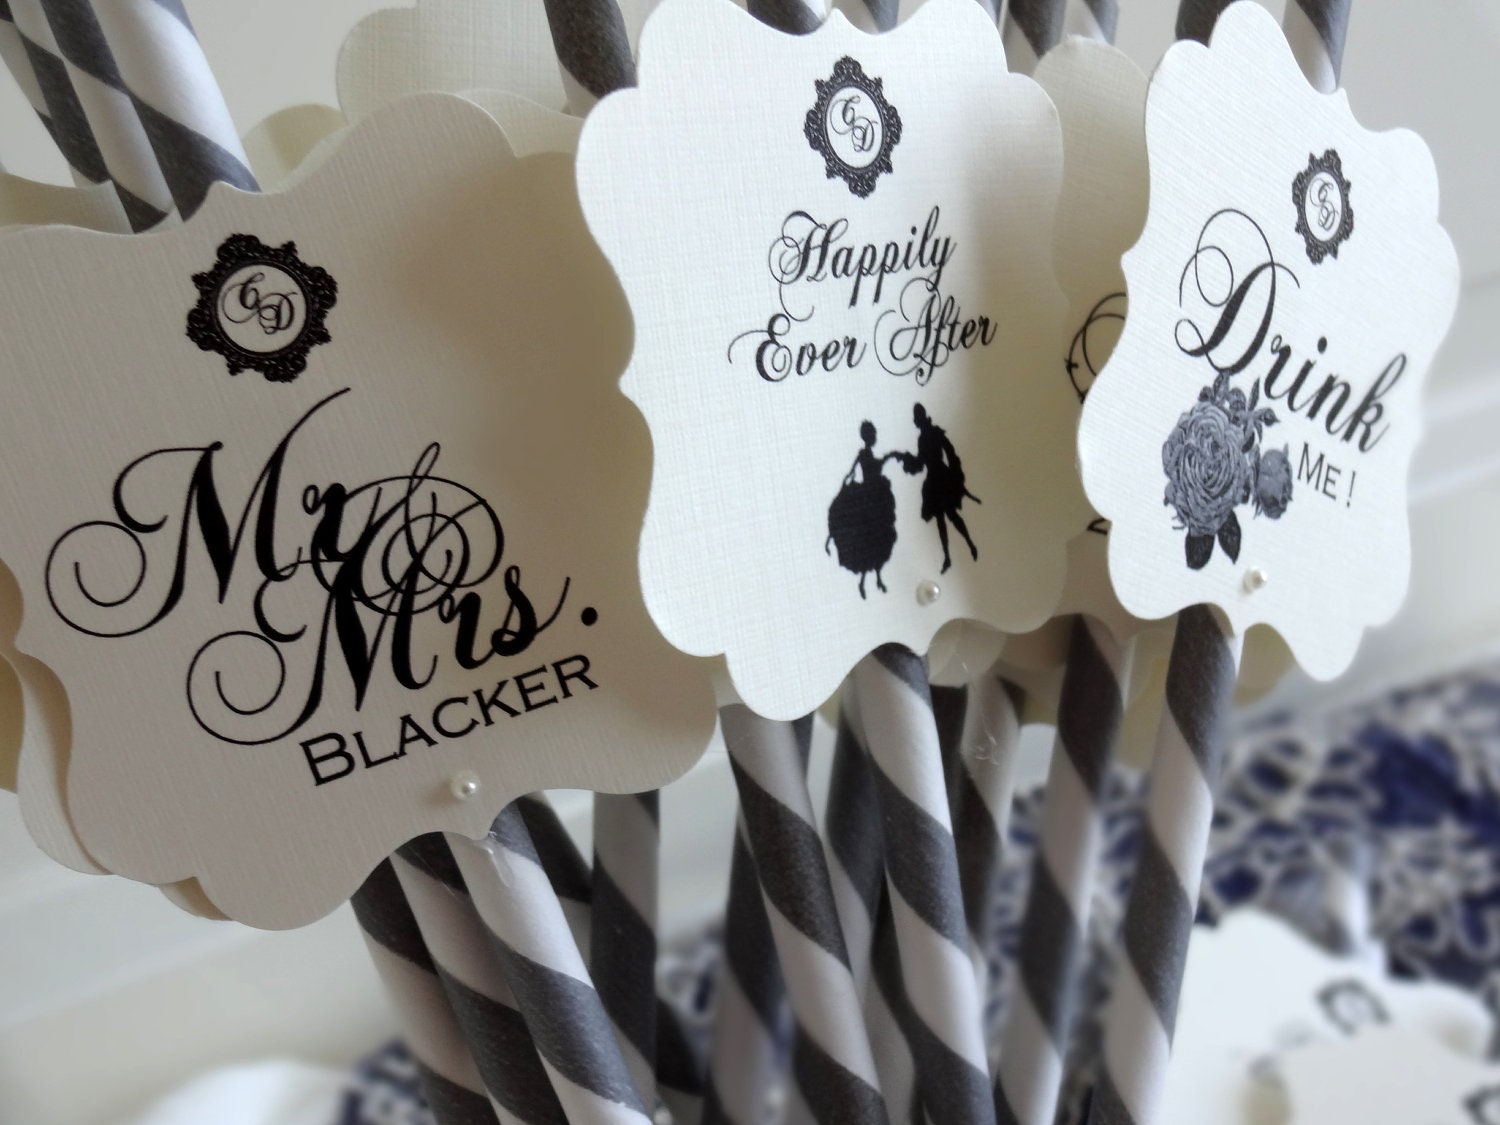
A drink stirrer with your new last name is a creative way to celebrate your new marriage. The script front and pearls add a touch of old Hollywood glamour. 
 
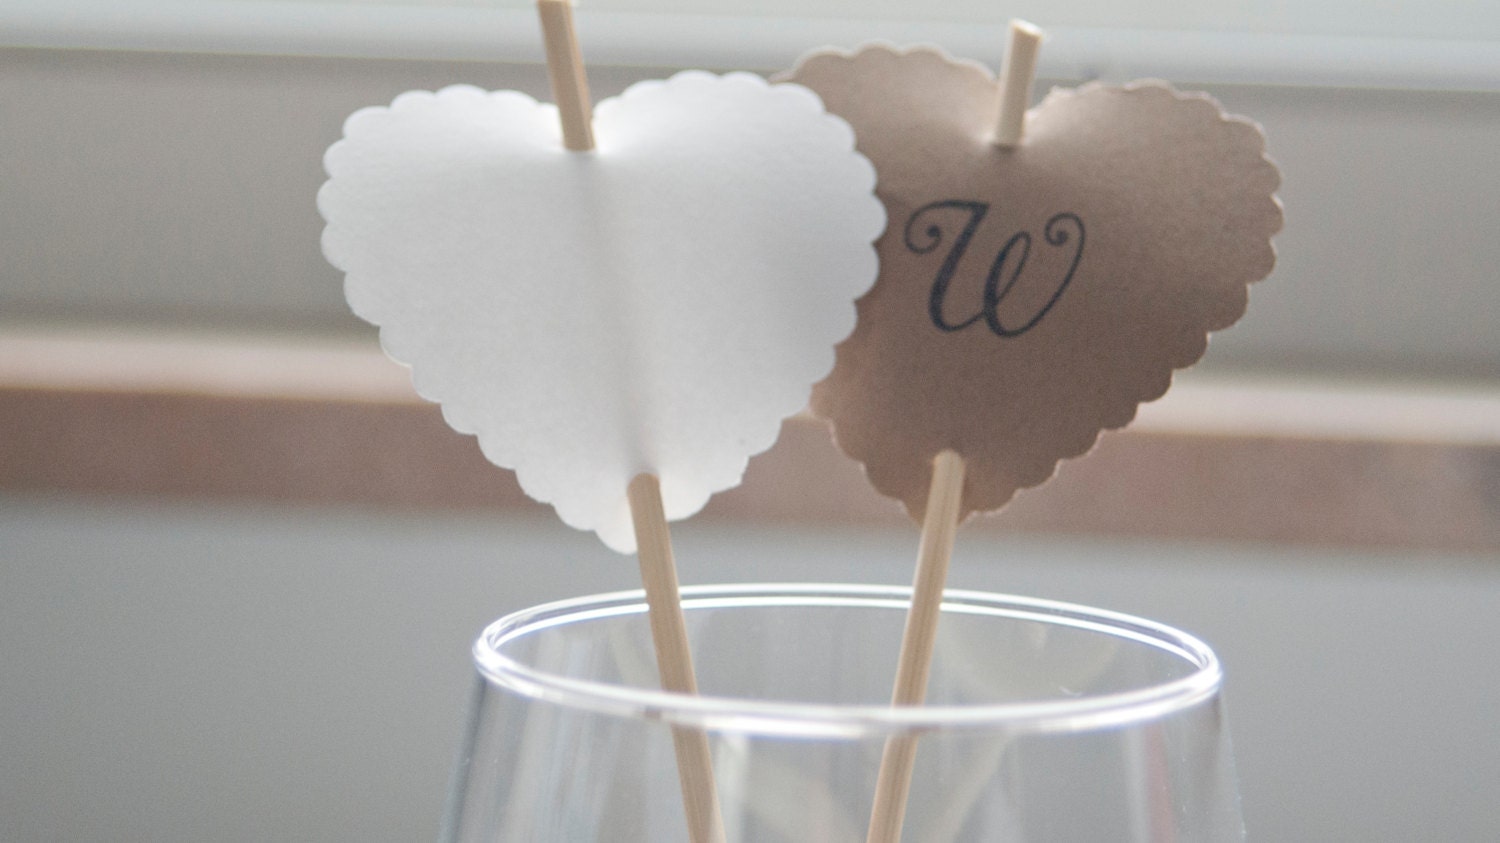
A simple heart with your new monogram is a creative drink stirrer.  It would be an easy DIY project.

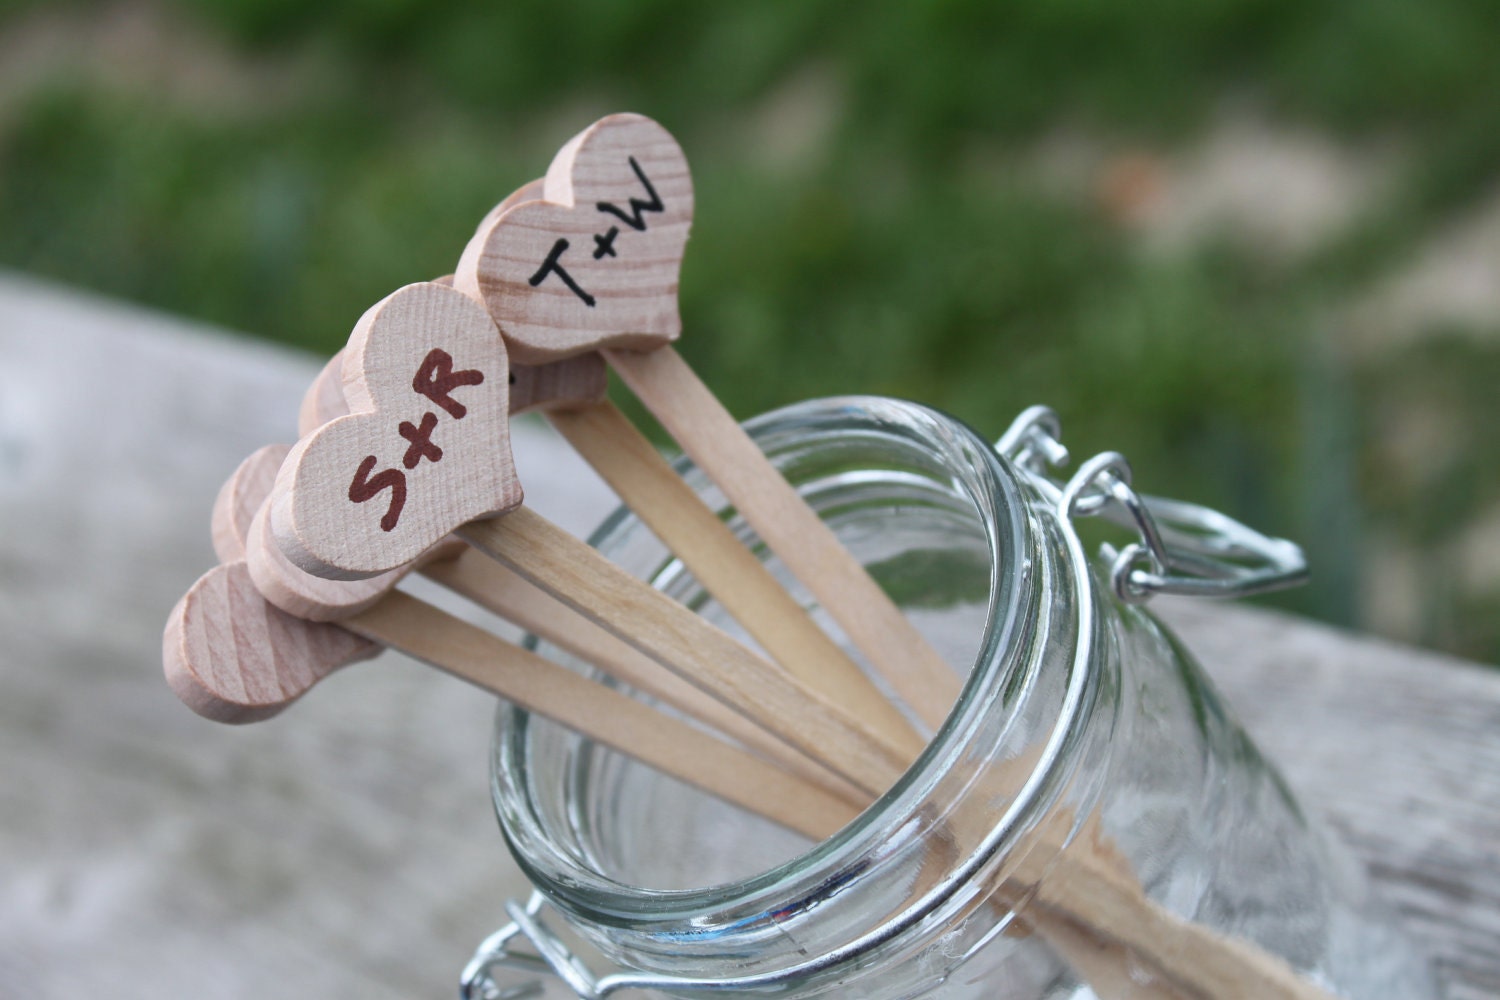
Hand crafted wooden drink stirrers are relaxed and perfect for a rustic wedding.

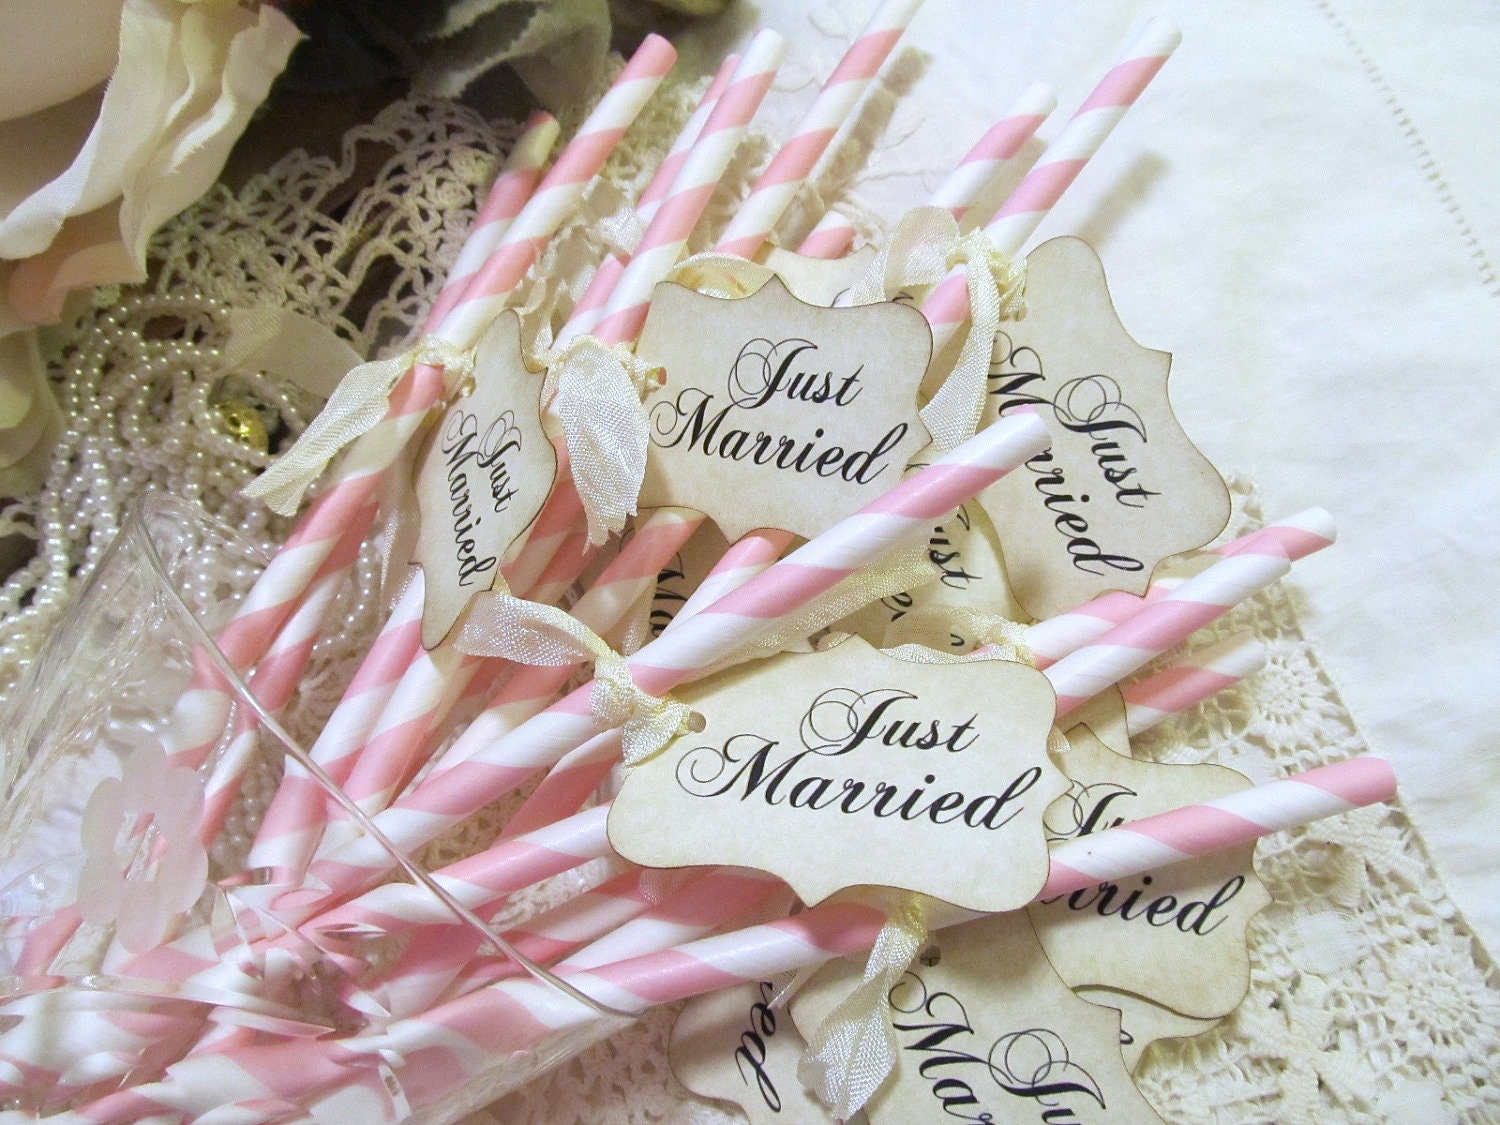
A pretty swirly straw would be perfect for a vintage wedding.  How cute are these Just Married paper straws?  They are super cute, but be weary of the vintage paper straw.  I used them to serve skinny cocktails, and they got very soft/soggy by the end of the drink.

So what do you think?  Would you have vintage drink stirrers at your wedding?  What about a cocktail hour?  Are you going to have one of those before the reception?

Saturday, February 2, 2013

Super Bowl Chocolate Chip Cookie Dough Truffles


Phil's side of the family is really into sports, so Super Bowl Sunday is like a mini holiday with lots of Super Bowl themed snacks and treats.  This year I decided to make Chocolate Chip Cookie Dough Truffles in the shape of footballs.  They were actually pretty easy to make and will make the game a bit more enjoyable!  :)


I adapted Taste of Home's recipe a bit to fit the ingredients I had on hand.  This recipe makes 3-4 dozen depending on desired size of footballs. 

1/2 cup butter, softened
3/4 cup packed brown sugar
1 teaspoon vanilla extract
2 cups all-purpose flour
1 can (14 oz) sweetened condensed milk
1/2 cup miniature semisweet chocolate chips
1/2 cup chopped walnuts 
12 oz dark chocolate chips
2 tbls and 2 tsp of shortening
Betty Crocker white decorating icing

  • In a large bowl, mix butter and brown sugar together until light and fluffy.  Add vanilla and continue to mix.  Gradually add flour and condensed milk, alternating between the two and beating after each addition.  Stir in chocolate and walnuts
  • Shape dough into footballs by first rolling into a ball then rolling into a cylinder shape.  Pinch the ends to form the dough into a football.  Place on waxed paper-lined baking sheets.  Cover loosely with plastic wrap and refrigerate for 1-2 hours or until firm
  • Get out two different size heat-proof mixing bowls (one large, one medium).  In the large bowl, heat water in the microwave for 2-3 minutes or until very warm.  Fill the medium bowl with dark chocolate chips and shortening.  Carefully place the bowl with chocolate into the bowl with water; water should come halfway up side of chocolate bowl
  • Stir chocolate and shortening constantly with a dry rubber scraper until completely melted and smooth.  Do not get water in the bowl with chocolate and reheat water as needed.
  • With fork, dip chilled cookie dough mixture into melted chocolate, one at a time.  Gently tap fork on edge of bowl to remove excess chocolate
  • When dry, decorate the truffles with Betty Crockers white icing.  I found doing the short horizontal stitching first then the long vertical stitch second works best
  • Store candies in refrigerator until ready to serve
I am excited to bring this with me to tomorrow's Super Bowl party.  What are you bringing with you to your Super Bowl Sunday party?  


Friday, January 18, 2013

Girls Night In


The perfect girls night to me is one that includes plenty of girl talk, chocolate and chick flicks.  Last weekend I had one of my best friends over for a relaxed evening of watching my favorite classic romance, The Princess Bride.  To complement the movie, I made salted caramel and chocolate popcorn and had champagne and plenty of chocolate on hand.  

To freshen up my dining room where our conversation started, I arranged a girly floral arrangement of pink and white flowers with clear and mercury glass vases.  I love how lux it looks!

I received a Whirley Pop for Christmas this year and this was my first time using it.  The popcorn came out super fluffy!  Here is my recipe for the salted caramel and chocolate popcorn:

 
1/2 cup of organic popcorn kernels
3 tablespoons oil (I use Orville's popping oil)
1/4 cup melted butter
Smuckers caramel topping
Melted dark chocolate
Salt

Heat oil over medium/high heat.  Add popcorn kernels and twirl the handle on the Whirley Pop to keep the kernels moving over the heat.  Continue turning until the rate of popping dies down to almost nothing.  Remove the popper for the burner and dump contents into a large bowl.  Pour the melted butter over the popcorn and stir.  Then top with salt, caramel and melted dark chocolate as desired.  Enjoy!!

What do you like to do for your girls nights?  Does it remind you of sleepovers from when you were younger?  I can't help but reminisce about all the sleepovers I had in high school.


Friday, January 11, 2013

Game Night Pajama Party


Sometimes, hosting a get together can take a lot of work...but a game night pajama party is the exception.  Instead of serving dinner, provide easy store bought snacks for your guests like trail mix, nuts, and pretzels.  Have these arranged in matching serving bowls within easy reach so you can munch all night. 

For dessert, lay out an array of gourmet treats like praline cookies, chocolate covered almonds, and truffles.  Again, these should be in the same place you are playing games.  For my party, I lined treats along the TV stand.

The party doesn't stop there - have champagne and drinks on hand in addition to a variety of games.  We played Mexican Train Dominoes, but I also had Scattergories, UNO, and Apples To Apples within arm's reach.

To make it a really laid back night, ask your guests to wear their pajamas.  It is such a fun and cozy way to spend an evening.  I highly recommend it.


Friday, December 28, 2012

Cheese and Chalkboard Themed Party

For my 26th birthday, I held a cheese-themed party for my family.  In lieu of gifts, I asked each guest to bring cheese.  We ate the cheese for an appetizer, and I prepared a three course meal featuring cheese in each of the selections.  Because cheese and wine go so well together, I kept the decor casual with chalkboards, mason jars, and vintage accents.


Inspiration

My love of cheese inspired the entire party.  The picture above is an aged gouda, which is my favorite.

DIY "Chalkboard" Place Mats

I wanted to use real chalkboards for place mats, but I was afraid the chalk would be messy at my dining table.  Instead, I found black poster boards and cut them in half.
I used a silver permanent marker and drew stitching along the perimeter.  Then, I hand wrote the name of each guest in the upper left-hand corner for a personal touch.  I love that they look like chalkboards but are disposable.

Appetizer Station

I prepared a station for appetizers on my counter.  A personalized place mat thanked my guests for the cheese and asked them to label it with porcelain labels I got from Crate and Barrel.  
I also made homemade crostini and laid out olives and salami.

Mason Jar and Rose Tablescape

The table was lined with mason jars and roses.  The DIY chalkboard place mats fit perfectly.

I used jars of varying heights to add some interest to the centerpiece.

I kept the place settings very simple with a clean white plate, single fork/knife, and crisp white linen napkins.

These vintage crystal goblets in purple, green, pink and blue added extra color to the table.

Cheese Filled Three Course Menu

I served a garden salad with gouda cheese, scalloped potatoes, broccoli with a Parmesan cream sauce, and chicken stuffed with Borsin cheese.  The guys enjoyed steak.

I really enjoyed the party.  It was simple to put together and very laid back.  Kevin and I learned a lot at our first dinner party, and I didn't make the same mistakes again.  I think the center piece would be perfect for a rustic, vintage, or castle wedding.  What do you think?